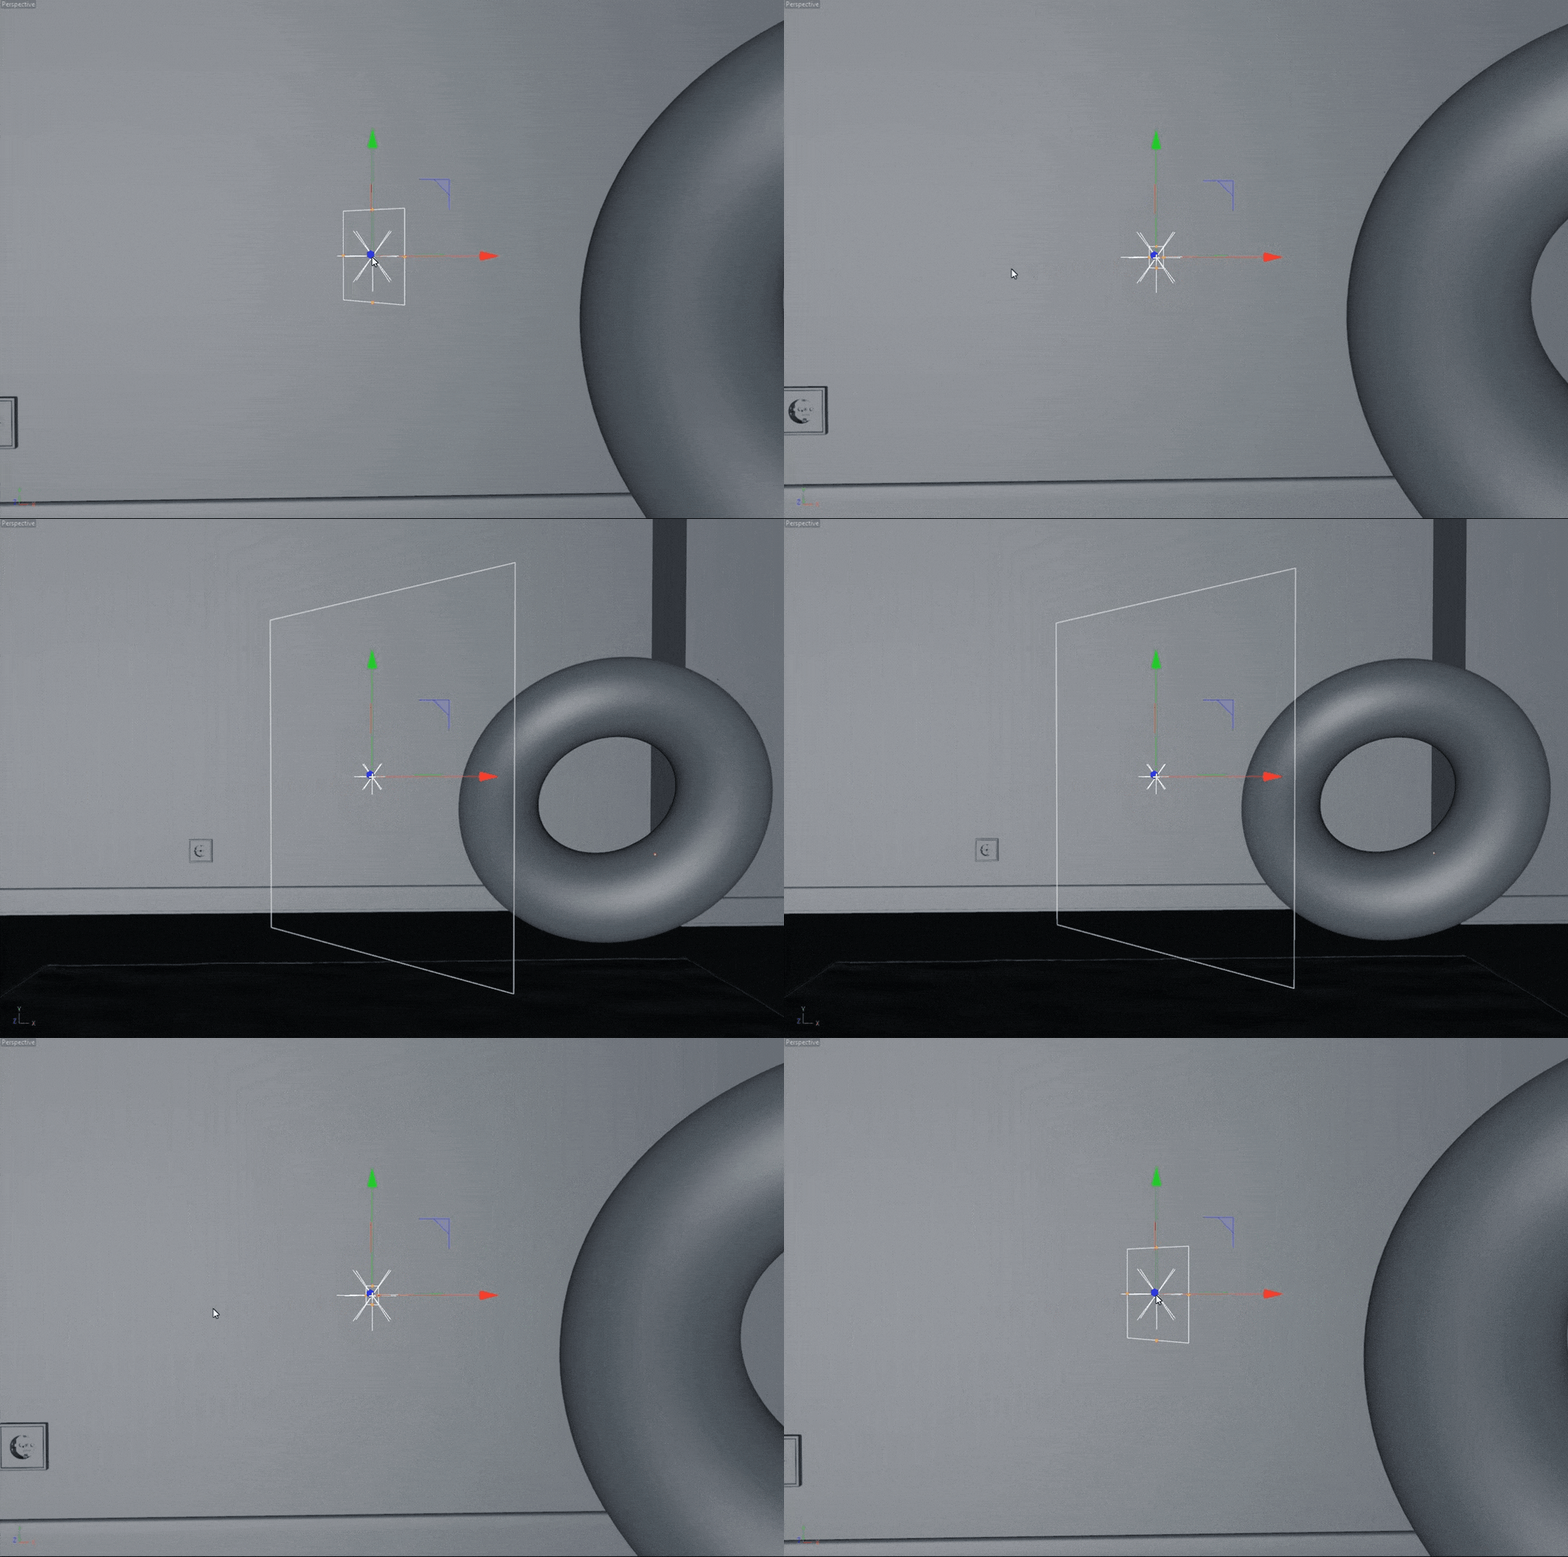
How to make soft light in Cinema 4D & Octane Render
Area lights are great. However they often lack the soft indirect light that we’ve come to expect from certain lighting environments. This tutorial will show you how to achieve said lighting with Cinema 4D, Octane and ACES!
What’s the difference?
Let’s take a look at the difference between a regular area light and our result.
Creating the lights
Now that we’ve seen the difference, let’s create the lights.
01. Main area light
The first area light will be the light casting our sharper highlights. In this scene we used a Gobo light texture from Greyscalegorilla’s Light Gobo pack. With that being said, this effect can be achieved with any light. Here are the important settings to change in the light:
Power: 100 (scene dependent)
Size: 2x2cm (scene dependent)
Surface Brightness: OFF
Opacity: 0
These settings will make sure that we keep sharp and bright highlights, as well as being transparent to prevent occlusion with other lights in the scene.
02. Diffused light
The second area light will act as our diffuser. We will duplicate our first area light, and increase its size way up to 200x200cm.
The two lights should be superposed in the same position. We can also increase the Power of this new light to 750. The power and size of the lights will always depend on your scene.
Using ACES
The last secret sauce is to use ACES! It offers exceptional tonemapping, especially for scenes with bright highlights and high contrast.
Color tonemapping
Look at the difference of the same scene with and without ACES.
Exposure tonemapping
The tonemapping can be further visualized by applying a false color LUT to the render.
01. Setting up ACES
To get started using ACES, you need to download the ACES 1.2 files from the GitHub repository. Once downloaded, you need to load the ocio.config file into Octane by going to Octane Settings > Settings > Color mgmt. After that, you can set your colorspace View LUT. In our case, we used ACES: sRGB.
02. Rendering in ACES
Now that we’ve loaded the ocio config file, we need to tell octane how to save our final render. Here are the most important settings you need to change:
Buffer type: HDR (Float 32-bit)
Color space: ACEScg
Format: EXR (Octane)
Compression: DWAB (optional)
Save beauty: ON
ACEScg in Photoshop
If you’ve ever opened an ACEScg render in photoshop, you probably noticed that it doesn’t look right. That’s because you’ve applied View Transform LUT in your render engine, but not in photoshop. Here’s how to do it:
01. Import 32-bit EXR
Firstly, you need to import your 32-bit EXR render. Note that the file has to be 32-bit for the color space transform to work properly. Rest assured, you can bake it down to 16-bit / 8-bit later.
02. Apply transform LUTs
Time to convert your render from ACEScg to sRGB. You need to apply two LUTs in their respective order:
ACEScg -> sRGB Linear
sRGB Linear -> sRGB
03. Bake to 16-bit
Once you are done making your color and exposure adjustments in 32-bit, you can bake it down to 16-bit. All you need to do is to select all layers and turn them into a Smart Object. After that, you create a new document with the same resolution but in 16-bit instead of 32-bit. Copy paste that Smart Object into this new document and you’re set! You can double click the Smart Object to go back inside the 32-bit file and make other adjustments.
Greyscalegorilla Light Gobos
In our render we used lights from the GSG Gobos pack. If you’re interested in getting their awesome assets, you can get 20% OFF by following the link bellow and using the discount code NIKV20
Thank you for reading!
Enjoyed this article? Show your support by following us on social media.

